Beava Space Series Classic Corner Trims


Beava Space Series Classic Corner Trims
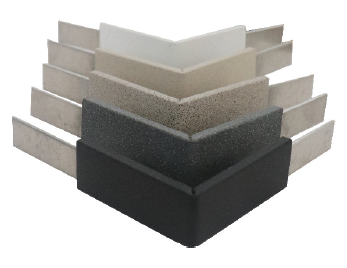
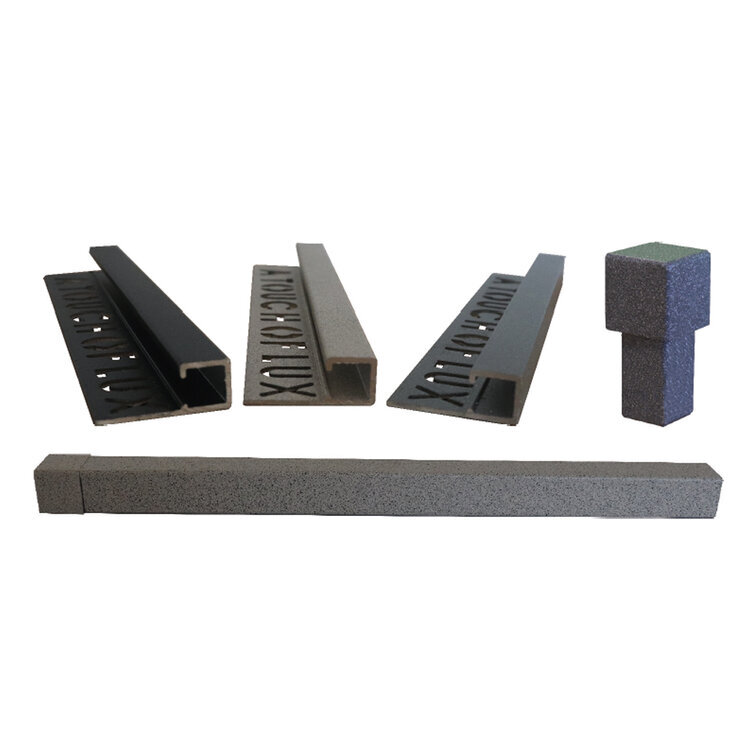
Following the introduction of the very popular Space Grey Trim, we’ve added to the range. Our new Space Series trims are available in both Classic and Unique and in a variety of colours; Celestial White, Saturn Sand and Midnight Black. We’ve also produced matching corners, so if your customers are looking for finishing touches that are out of this world then we have it! Powder-coated, anodised and stylish - a modern addition to any setting.
Features:
Space Series Classic Corner Trims
Space Range Classic Corners
| Stock Code | Type | Bulk Quantity |
| 41079 | Celestial White Classic 8mm Corners | 5 |
| 41080 | Celestial White Classic 10mm Corners | 5 |
| 41081 | Celestial White Classic 12.5mm Corners | 5 |
| 41082 | Saturn Sand Classic 8mm Corners | 5 |
| 41083 | Saturn Sand Classic 10mm Corners | 5 |
| 41084 | Saturn Sand Classic 12.5mm Corners | 5 |
| 41086 | Asteroid Grey Classic 8mm Corners | 5 |
| 41087 | Asteroid Grey Classic 10mm Corners | 5 |
| 41088 | Asteroid Grey Classic 12.5mm Corners | 5 |
| 41054 | Space Grey Classic 8mm Corners | 5 |
| 41055 | Space Grey Classic 10mm Corners | 5 |
| 41056 | Space Grey Classic 12.5mm Corners | 5 |
| 41076 | Midnight Black Classic 8mm Corners | 5 |
| 41077 | Midnight Black Classic 10mm Corners | 5 |
| 41078 | Midnight Black Classic 12.5mm Corners | 5 |
High quality powder coated aluminium
To ensure our trims dont scratch, all our trims are sold with a protective plastic layer which can be peeled off after grouting your tiles
For any size tile you need to ensure that you have at least 1mm space for adhesive. This means for a 10mm tile you would need a 12/12.5mm trim.
Corners not only improve the aesthetics of the trim on a 90 degree angle, but also act as a health and safety measure ensuring you dont have any sharp edges sticking out that people can catch themselves on.

Sample Form
| Aluminium AA 6063 T6 / UNS A96063 anodised to DIN 17611 | |
| Si % | 0.2-0.6 |
| Fe % | 0.35 |
| Cu % | 0.1 |
| Mn % | 0.1 |
| Mg % | 0.45-0.9 |
| Zn % | 0.1 |
| Ti % | 0.1 |
| Cr % | 0.1 |
| Al | Balance |
Installation Guide
- Trowel tile adhesive over the area that forms the perimeter of the tiled covering.
- Press the perforated anchoring leg of the trim into the tile adhesive and align, mechanical fix if required.
- Trowel additional adhesive over the perforated anchoring leg to ensure full coverage.
- Solidly embed the tiles so that the tiled surface is flush with the top of the profile, the profile should not be higher than the tiled surface, but rather up to approximately 1 mm lower.
- Fill the joint completely with grout.
To find out where your nearest stockist is, just drop us a message in the live chat portal at the bottom right of your screen. We'll get someone on your case right away, and they'll be able to find the retailer closest to you who stock exactly what you need. Our live chat function is open during STS working hours, from 7.00am until 5.00pm Monday through to Friday.
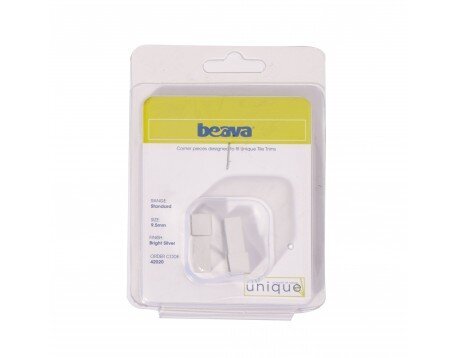
Unique Metal Corner Trims
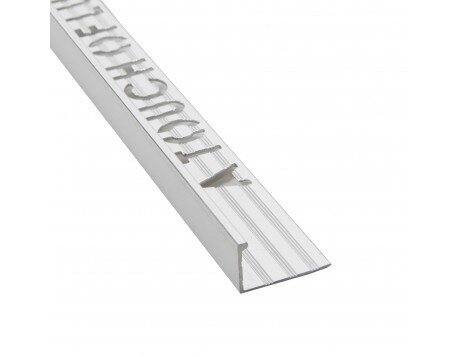
Beava Classic Square Edge Metal Trim
Beava Space Series Classic Corner Trims
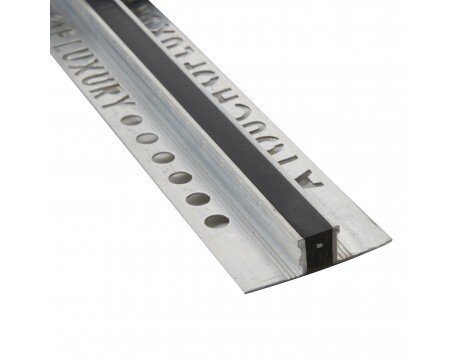
Beava Movement Joint
Beava Space Series Unique Trims
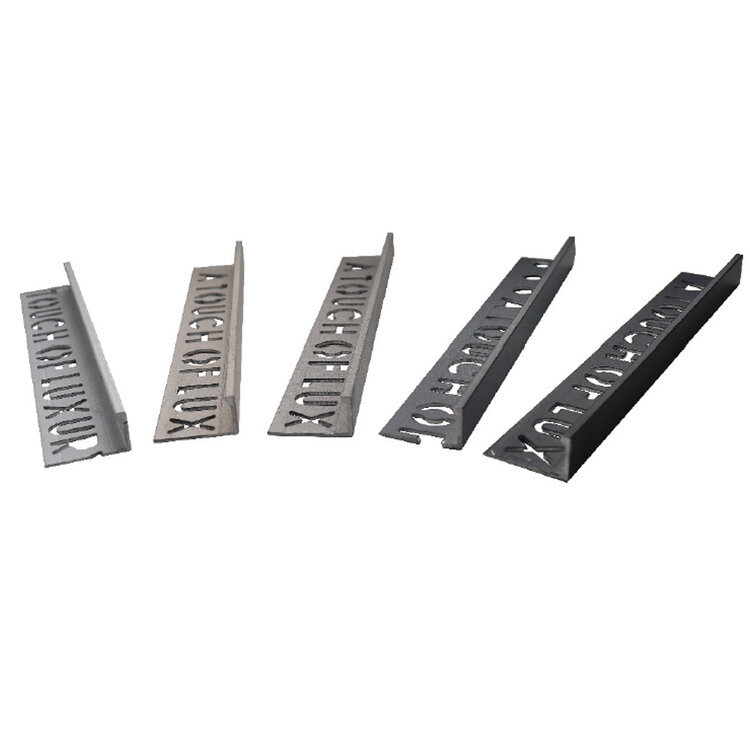
Beava Space Series Classic Trims