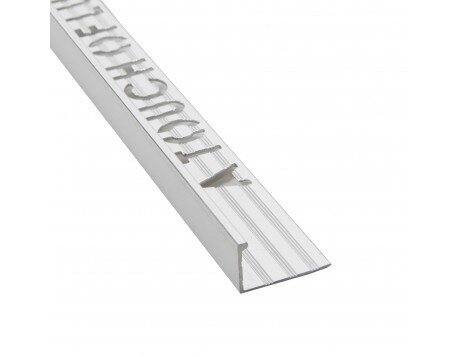
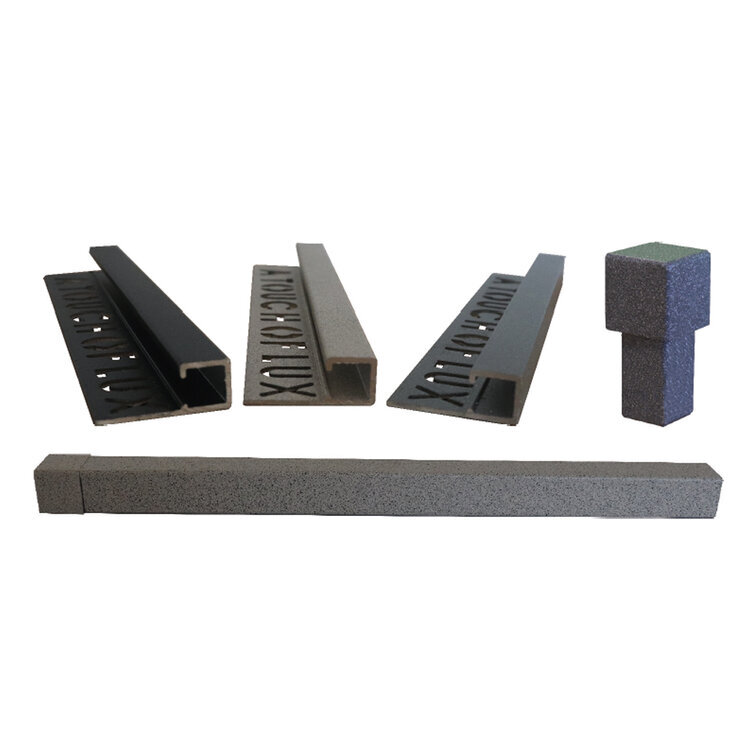
Beava Classic Square Edge Metal Trim


Beava Classic Square Edge Metal Trim
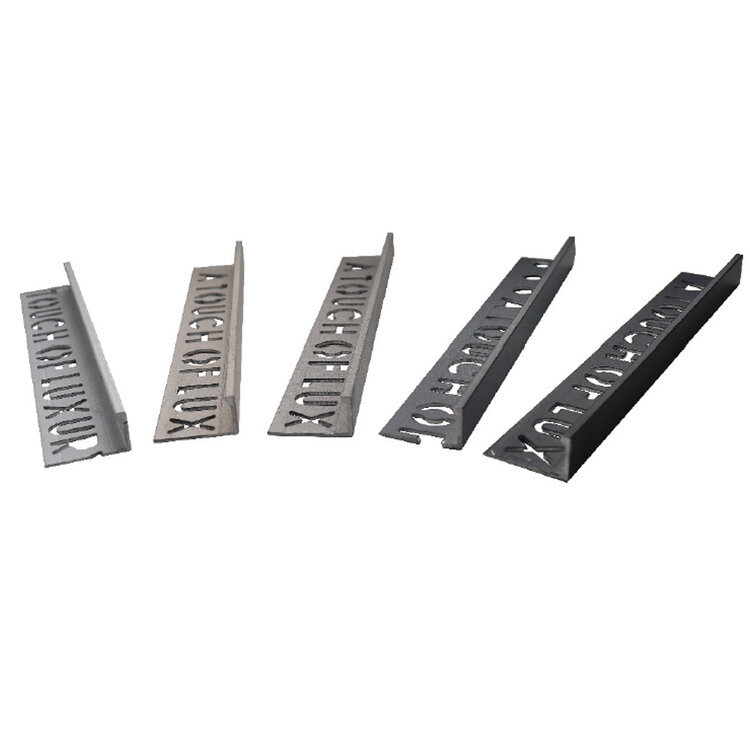
The sleek, streamlined look of the classic makes it a great choice in today’s market for chrome trims. Made from anodised aluminium, the Classic trim produces a clean, minimalist finish and is available in a variety of styles and colours to suit a range of applications.
Features:
Bright
| Stock Code | Trim Type | Bulk Quantity |
| 41000 | Classic Bright Silver 6mm | 100 |
| 41001 | Classic Bright Silver 8mm | 100 |
| 41002 | Classic Bright Silver 10mm | 100 |
| 41003 | Classic Bright Silver 12.5mm | 100 |
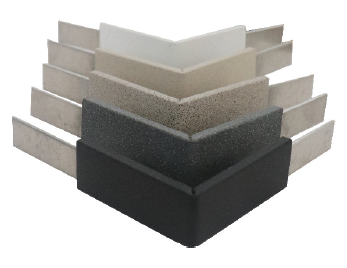
| 41051 | Classic Brushed Silver 8mm Corners | 5 |
| 41052 | Classic Brushed Silver 10mm Corners | 5 |
| 41053 | Classic Brushed Silver 12.5mm Corners | 5 |
Brushed
| Stock Code | Trim Type | Bulk Quantity |
| 41005 | Classic Brushed Silver 8mm | 100 |
| 41006 | Classic Brushed Silver 10mm | 100 |
| 41070 | Classic Brushed Silver 12.5mm | 100 |
| 41051 | Classic Brushed Silver 8mm Corners | 5 |
| 41052 | Classic Brushed Silver 10mm Corners | 5 |
| 41053 | Classic Brushed Silver 12.5mm Corners | 5 |
Grey
| Stock Code | Trim Type | Bulk Quantity |
| 41011 | Classic Grey 8mm | 100 |
| 41012 | Classic Grey 10mm | 100 |
| 41013 | Classic Grey 12.5mm | 100 |
Gold
| Stock Code | Trim Type | Bulk Quantity |
| 41015 | Classic Gold Trim 10mm | 100 |
| 41016 | Classic Gold Trim 12.5mm | 100 |
Brushed Nickel
| Stock Code | Trim Type | Bulk Quantity |
| 41017 | Classic Brushed Nickel Trim 10mm | 100 |
| 41018 | Classic Brushed Nickel Trim 12.5mm | 100 |
Classic Sqaure Edge Classic Trims
Anodised aluminium
To ensure our trims dont scratch, all our trims are sold with a protective plastic layer which can be peeled off after grouting your tiles
For any size tile you need to ensure that you have at least 1mm space for adhesive. This means for a 10mm tile you would need a 12/12.5mm trim.

Sample Form
| Aluminium AA 6063 T6 / UNS A96063 anodised to DIN 17611 | |
| Si % | 0.2-0.6 |
| Fe % | 0.35 |
| Cu % | 0.1 |
| Mn % | 0.1 |
| Mg % | 0.45-0.9 |
| Zn % | 0.1 |
| Ti % | 0.1 |
| Cr % | 0.1 |
| Al | Balance |
Installation Guide
- Trowel tile adhesive over the area that forms the perimeter of the tiled covering.
- Press the perforated anchoring leg of the trim into the tile adhesive and align, mechanical fix if required.
- Trowel additional adhesive over the perforated anchoring leg to ensure full coverage.
- Solidly embed the tiles so that the tiled surface is flush with the top of the profile, the profile should not be higher than the tiled surface, but rather up to approximately 1 mm lower.
- Fill the joint completely with grout.
To find out where your nearest stockist is, just drop us a message in the live chat portal at the bottom right of your screen. We'll get someone on your case right away, and they'll be able to find the retailer closest to you who stock exactly what you need. Our live chat function is open during STS working hours, from 7.00am until 5.00pm Monday through to Friday.
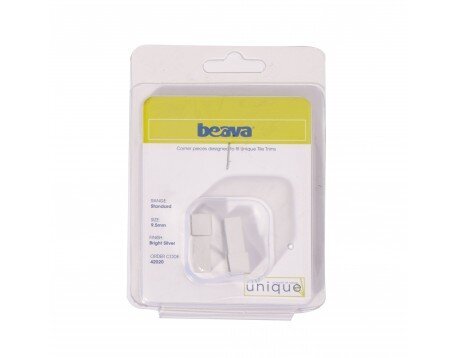
Unique Metal Corner Trims
Beava Classic Square Edge Metal Trim
Beava Space Series Classic Corner Trims
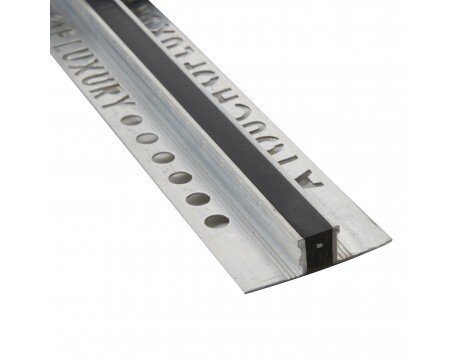
Beava Movement Joint
Beava Space Series Unique Trims
Beava Space Series Classic Trims